Easy remote access to self hosted services
You already have plex or jellyfin installed with all your favorite movies and series, now you just need to be able to access it from outside your home to give access to your family or friends. With cloudflare tunnels this is a free and easy task.
Requirements:
A domain. There are websites where you can get it for free. Or you can pay for one anywhere you want.
A computer/server where you run your services (pihole, your NAS, guacamole, qbittorrent, proxmox, jellyfin…) and where you must install cloudflare software.
First step
Create your cloudflare account and confirm your email. On the main page, click on add website.

Follow the steps provided and don’t forget to select the free plan.

Following the process, you will need to change your domain’s DNS servers to cloudflare’s. This is done differently depending on your domain provider. Look for information on the internet if you need it or contact your provider. Then you should check that the change has been made correctly, it may take a while. They will send you an email when it is ready.
Second step
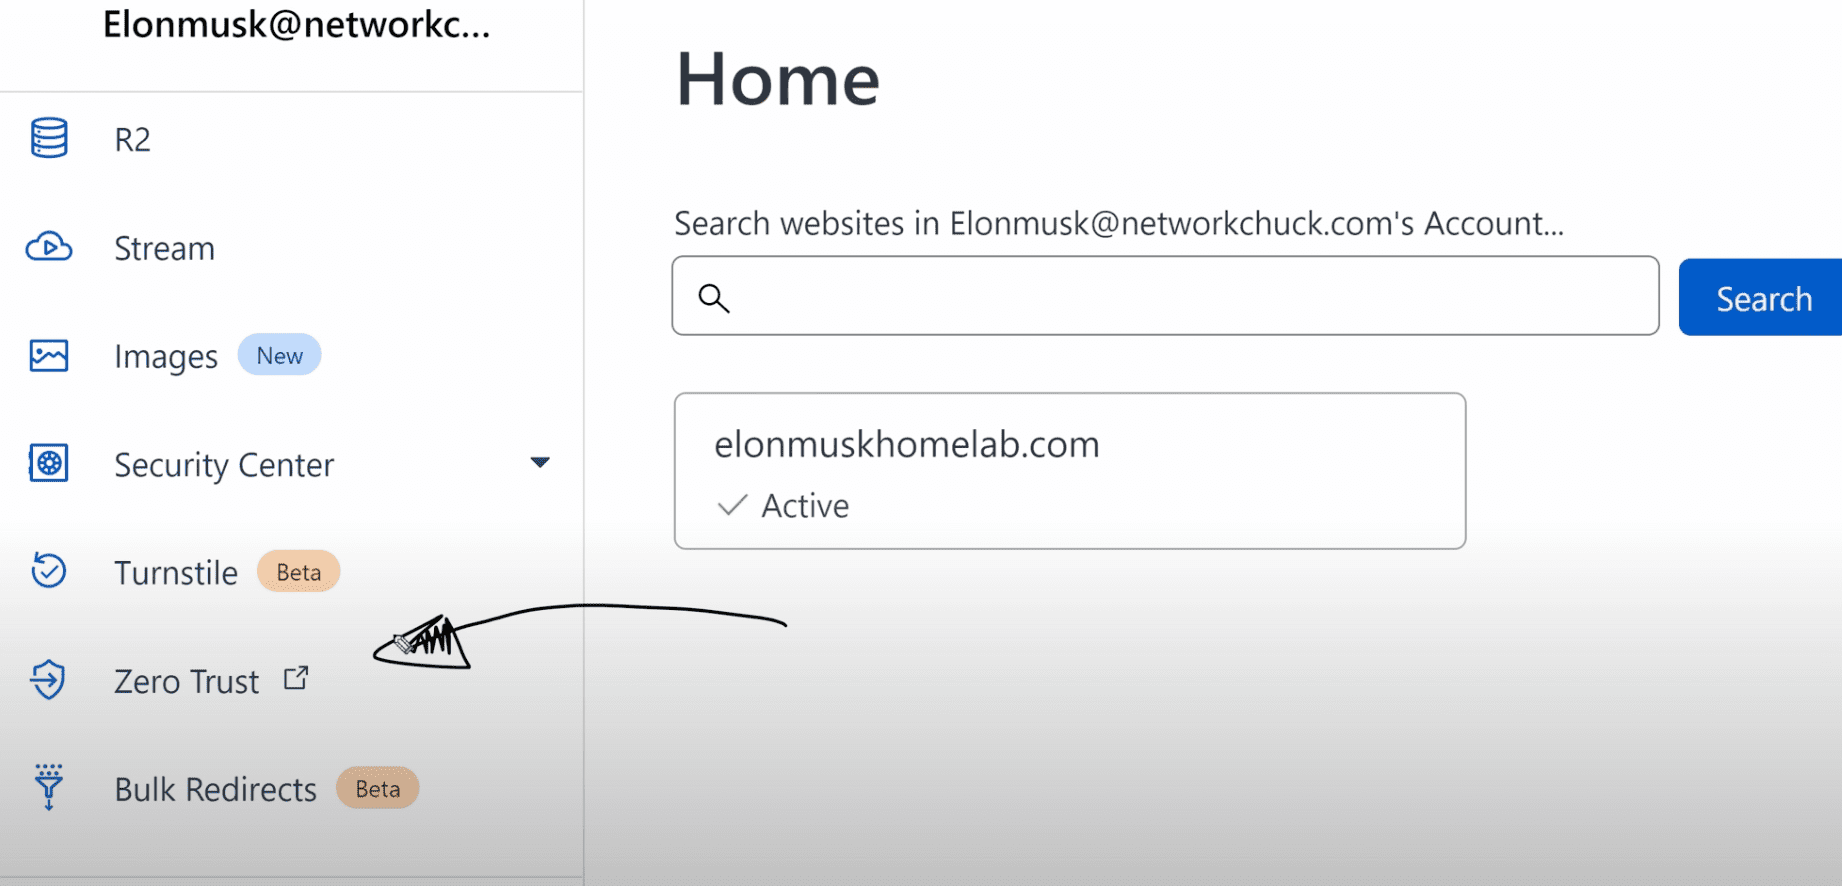
Go to the Zero Trust section in the left panel.
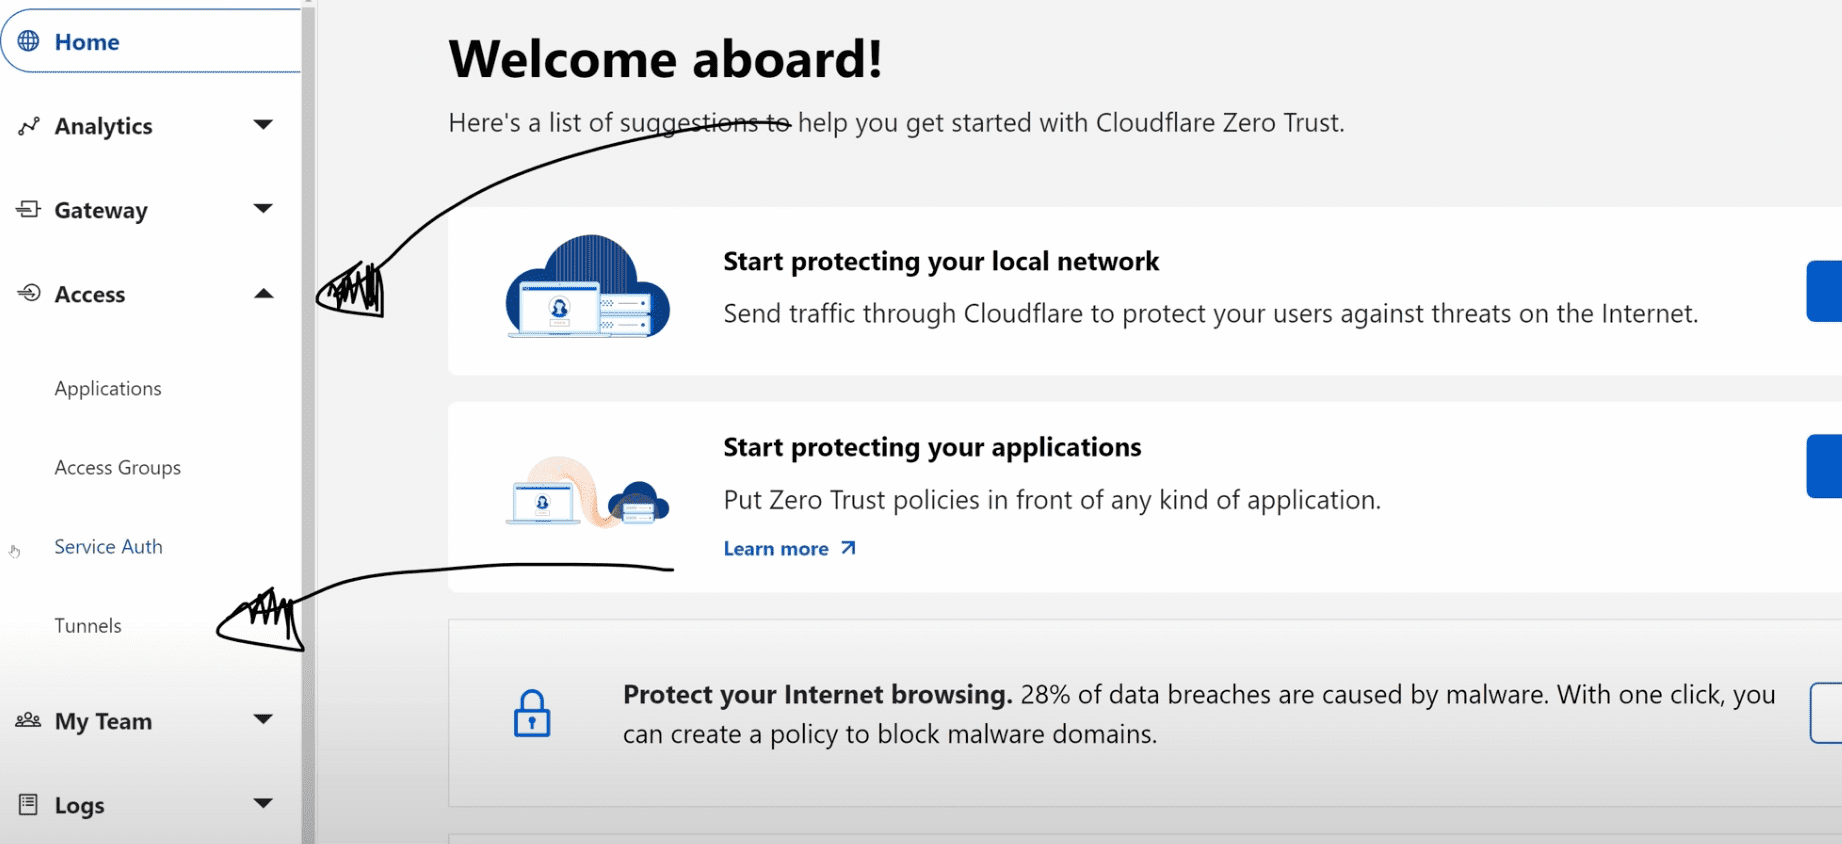
Head over to Access -> Tunnels.
Next, complete the Cloudflare Zero Trust signup process and don’t forget to select the free plan. You must put a payment method, but they will not charge anything.
When you have completed the registration, return to the Tunnels section.
Third step
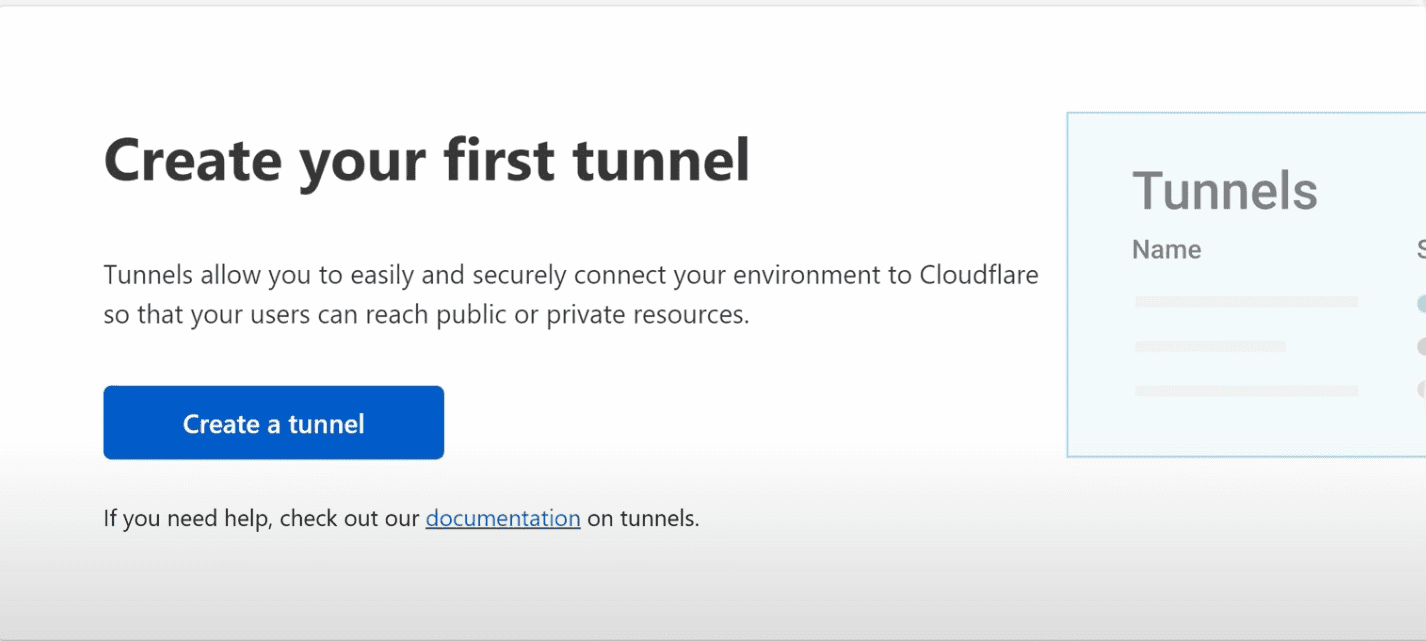
Create a new tunnel and name it whatever you want.
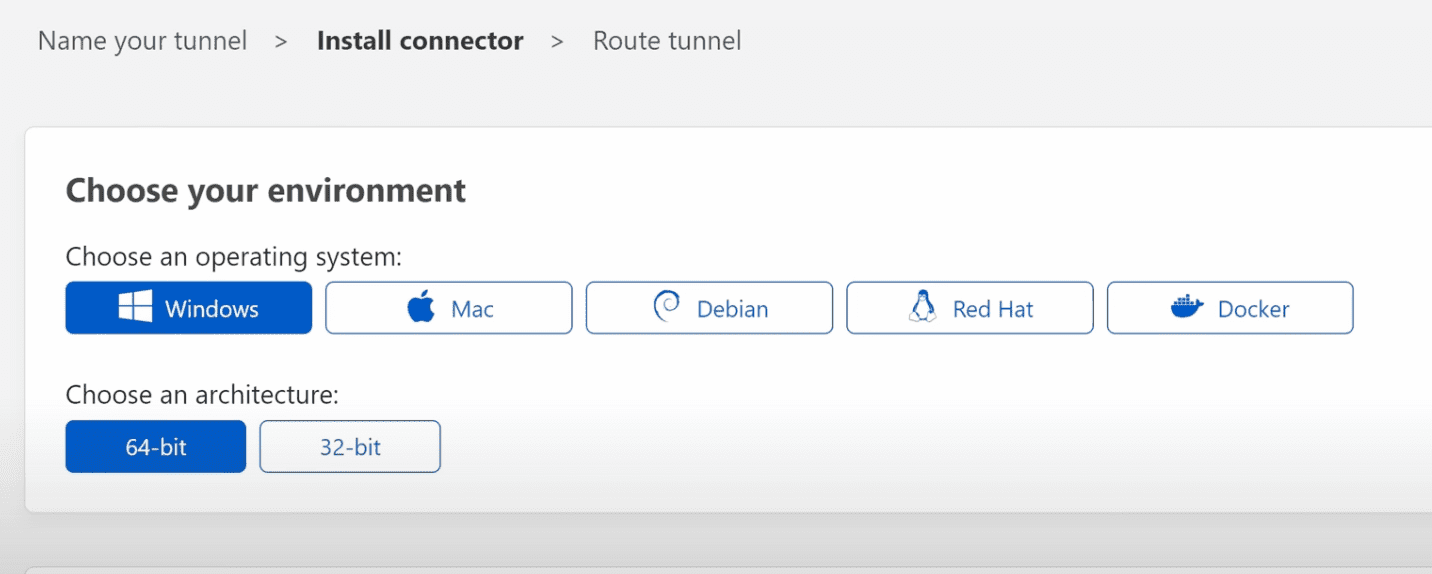
Now you must install the cloudflare connector on the operating system of your choice (your server). I recommend docker.
Fourth step
With the cloudflare connector up and running, it’s time to create as many accesses and subdomains as you want to all your services, with SSL! Example for proxmox :
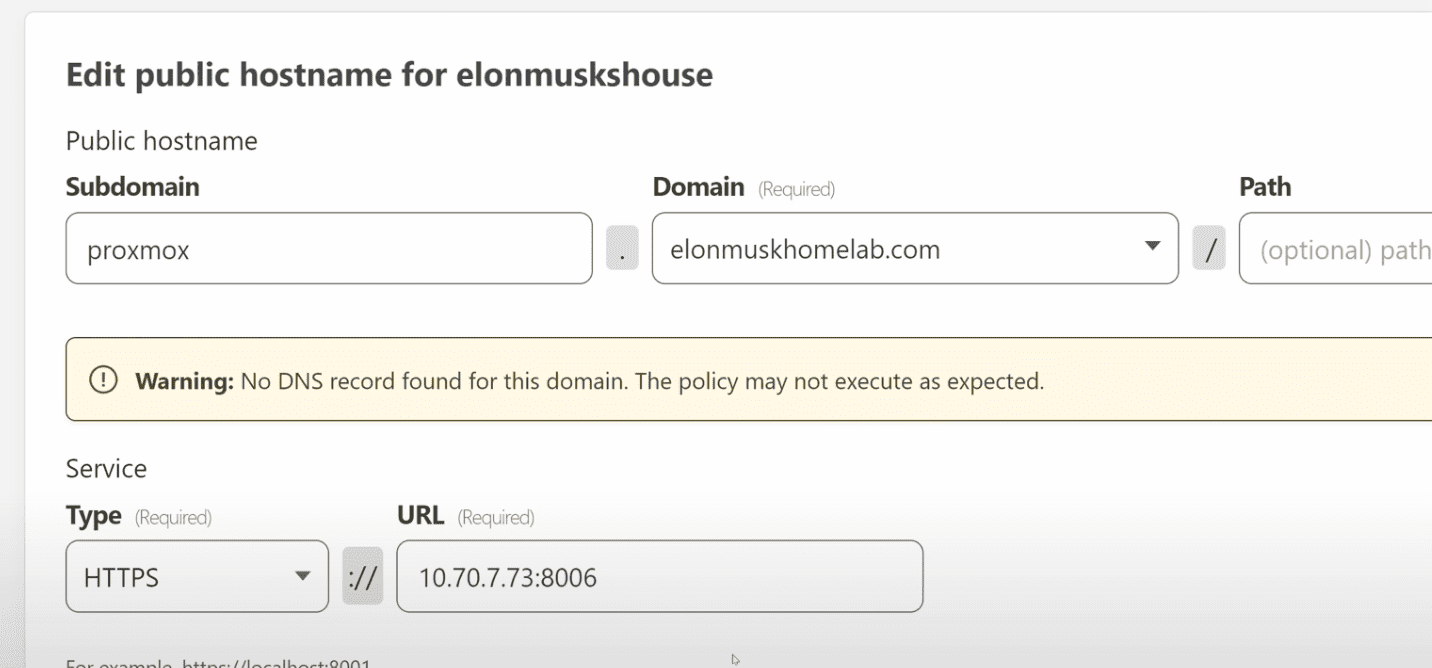
For services that have their own certificate, such as proxmox, you must activate the “No TLS verify” option.
Ready! Now you can add as many services as you want to access them remotely quickly, safely, easily and for free.