Acestream on Jellyfin guide
A few months ago I wrote a post about how to create an acestream server in a docker container in order to watch live streams from a player like VLC.
This time I’m going to show how I managed to watch the streams in jellyfin.
First step: acestream server
In my case, I have installed the acestream server on ubuntu 20 desktop machine, because it has been the easiest way I have found to make the method work. You may wonder why I haven’t used the docker container on which I made the post, this is because I have not been able to make it work since the container outputs the stream in MPEG TS format and for jellyfin it is needed HLS (MPEG TS in my case works badly, I think it needs transcoding and this creates lag). Of course, if someone manages to do it with a docker container, tell me!
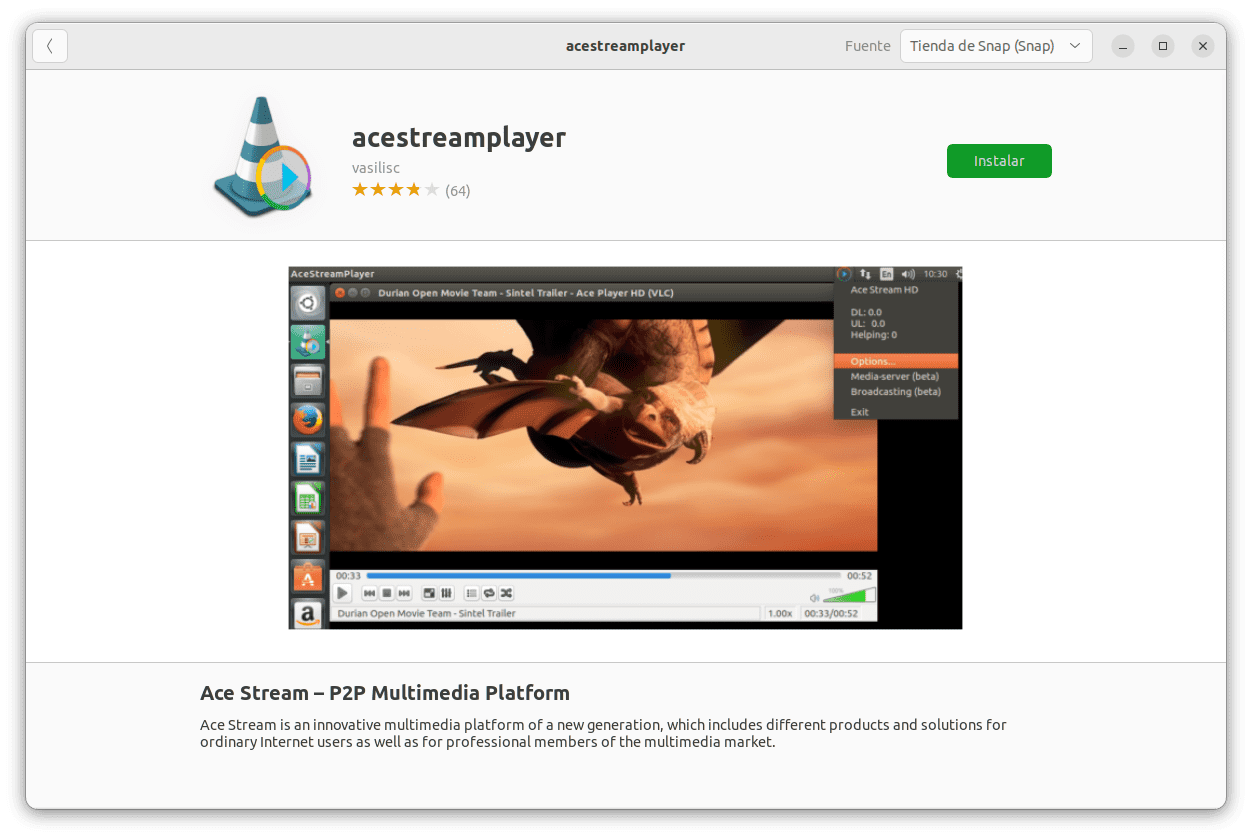
Already in our ubuntu 20 or similar version, download acestreamplayer from the Ubuntu Store.
If you use ubuntu server, you can do the same with this command:
sudo snap install acestreamplayer
Once installed, from a terminal run the following command:
acestreamplayer.engine --client-console
In order to store caché on RAM instead of disk (recommended) use this:
acestreamplayer.engine --live-cache-type memory --vod-cache-type memory --client-console
Ready! Your acestream server is now working. 😀
Second step: create m3u file
On the server where you have jellyfin, create a file and name it whatever you want, but it must have an .m3u extension, for example mylist.m3u.
Then, write inside the following:
| |
Now, you must enter your information:
-photo-: (Optional) You can put a photo of the channel, just put the web link to the image.
-name-: Name of the channel.
-ip-: IP of the acestream server.
-id-: ID of the stream.
Example file with two channels:
| |
Third step: add file to jellyfin
Once our file with channels is created, the last step is really easy:
- Go to your jellyfin dashboard
- Live TV
- Add a tuner, type M3U Tuner
- Select the file you created before
- Save
- Update guide data
Ready! The only thing left to do is check that everything works fine. It usually takes a few seconds to start the stream, so be a little patient. 😉